
Jammin’ with Ms. E!
Making the most of quarantine
I love strawberries. They are my favorite fruit. I also love jam (with biscuits, toast, etc.). You guessed it…strawberry jam is my favorite. It has always been a goal of mine to learn how to make my own. I have family and friends who do (and even Kate Middleton does and gives it to the Queen!), so I’ve always felt it is possible.
I never in a million years would have dreamed about this quarantine. While it’s remarkably uncertain and can be a bit scary, there remains for us a blessed gift that we seem to never have enough of, Time. Well, I always wanted to make my own jam, and I’m told April strawberries are the best, so I thought, Why not?
I’m sharing with you my journey to making my own jam as well as the recipe. I’m no Barefoot Contessa, but occasionally I can surprise folks in the kitchen! ?
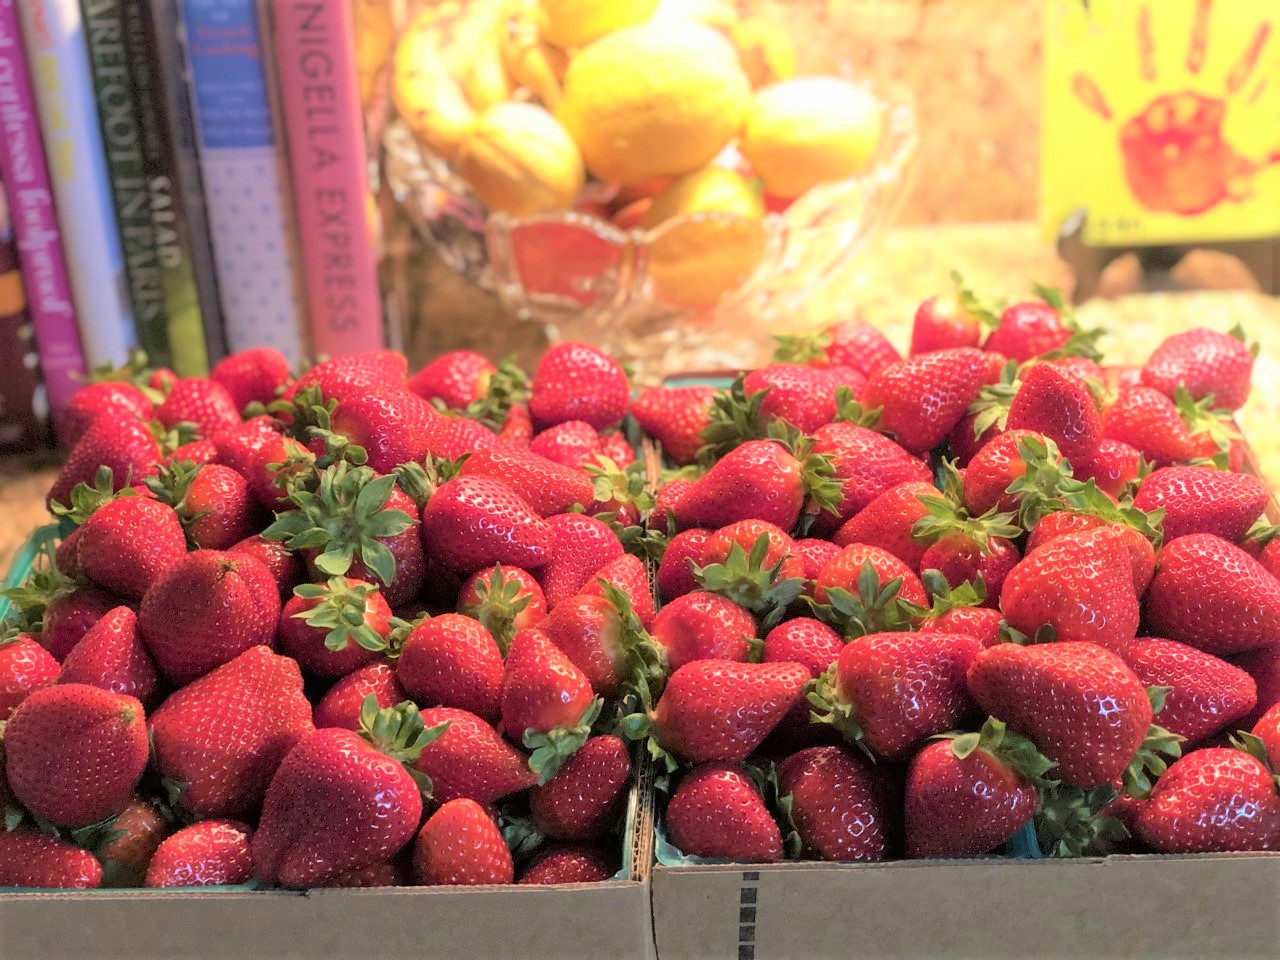
First, I went to my local farmer’s strawberry stand and purchased two flats of strawberries ($24). Local strawberries picked in season are a gift from heaven. There is no way to describe the incredible smell, texture, taste and color.
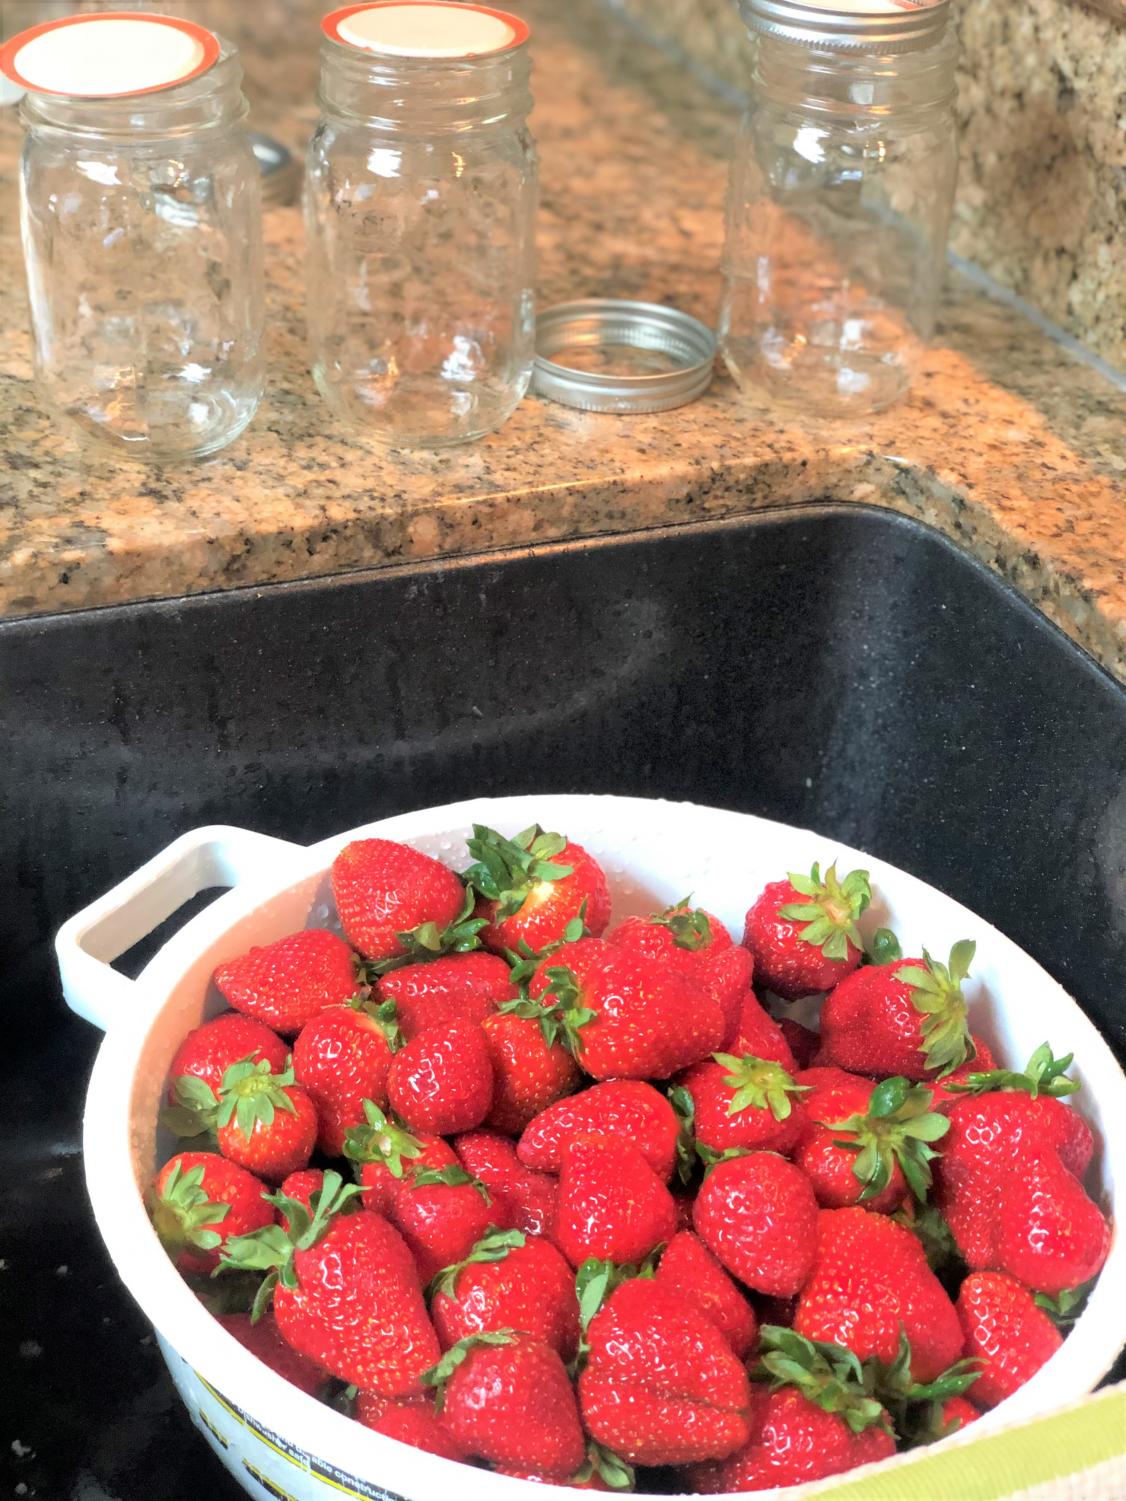
Then, I sanitized the glass mason jars with lids I had purchased from Safeway (I bought 2 dozen but only used 9). My dishwasher has a sanitation cycle so it was pretty simple.
Next, I rinsed off the strawberries in a large colander (they looked gorgeous!).
The next step confused me a bit. It called for crushing the fruit, but I had no idea how to do this correctly. Since I was unable with the Shelter in Place to have a friend come over and help me, I did the next best thing: I called my aunt in Ft. Worth who is a wiz at this sort of thing. She said to mash up the strawberries like you were making Strawberry Shortcake. Made sense to me. She also recommended keeping a few yummy chunks in there for extra goodness in the finished jam.
What happened next was a bit humorous. As I gleefully mashed my strawberries with whatever kitchen tools I could find, strawberry juice sprayed all over my counters, cabinets, etc. until it looked like it could be a crime scene. (Note to self: wash kitchen cabinets AFTER strawberry jam, not before).
The recipe has you placing measured cups of strawberries in a large pot (I doubled the recipe so I used 10 cups of mashed strawberries) with water. Adding to the fruit pectin (I used two packets of Sure-Jell) and bring mixture to a boil. Also adding a tablespoon of butter keeps the foam to a minimum (concurs my OTHER aunt in Ft. Worth—I have a lot of aunts!).
Then comes the sugar. Let me warn you, it’s A LOT! Diabetics be careful! Thankfully we had just stocked up for the quarantine so I had plenty of sugar on hand. Are you ready for the amount? 14 cups. I recommend getting Costco’s large C&H sugar for this. You then put the entire of amount of sugar (enough to make your dentist and doctor cry) with the fruit mixture and bring to a rolling boil once more for exactly one minute (I love the precision here).
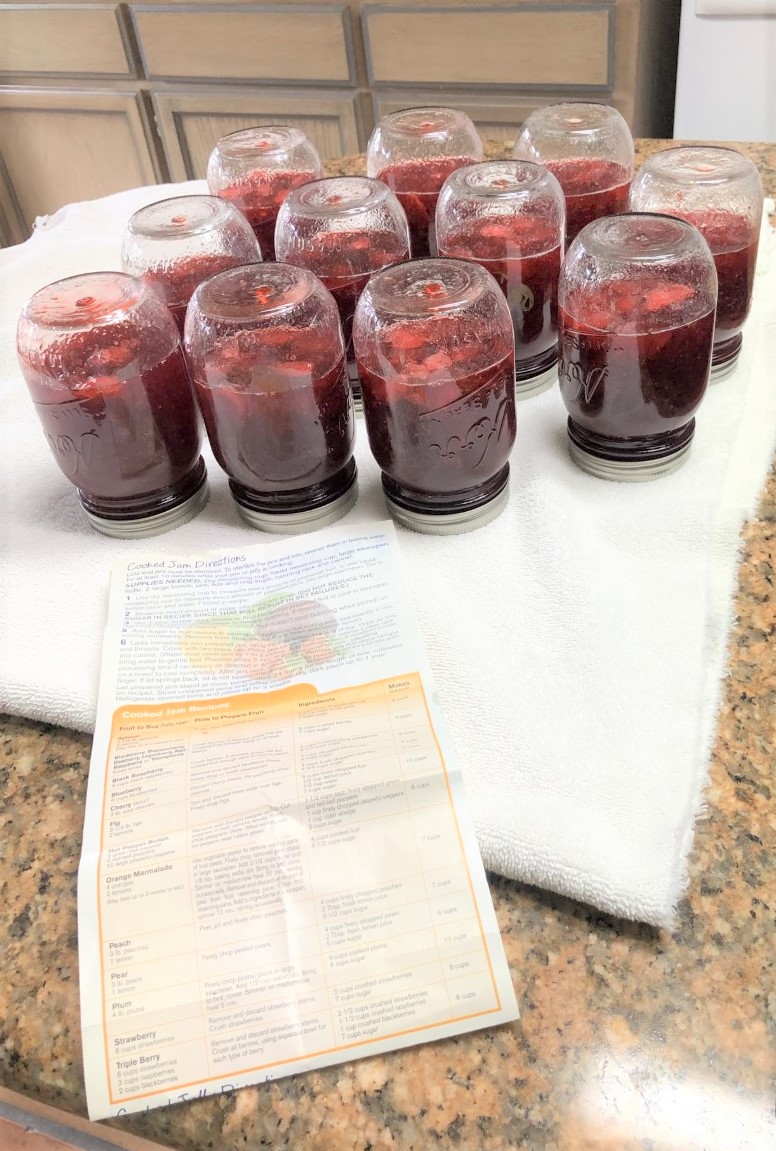
Next, remove from heat and begin ladling into your sanitized jars. Since I bought the self-sealing ones, I immediately tightened the lid and placed upside down so that the heat and gravity would secure the seal. I did this on an old towel and allowed the jars to cool completely.
Finally, I wanted that extra special touch for presentation, so I braved the crowds at Wal-Mart to search for some red gingham-checked fabric. I couldn’t decide between a large check and small one and just bought both. Once the jars were cooled, I measured out a square of fabric and tied it to the top with some nifty string (I had to use rubber bands to hold it all together).
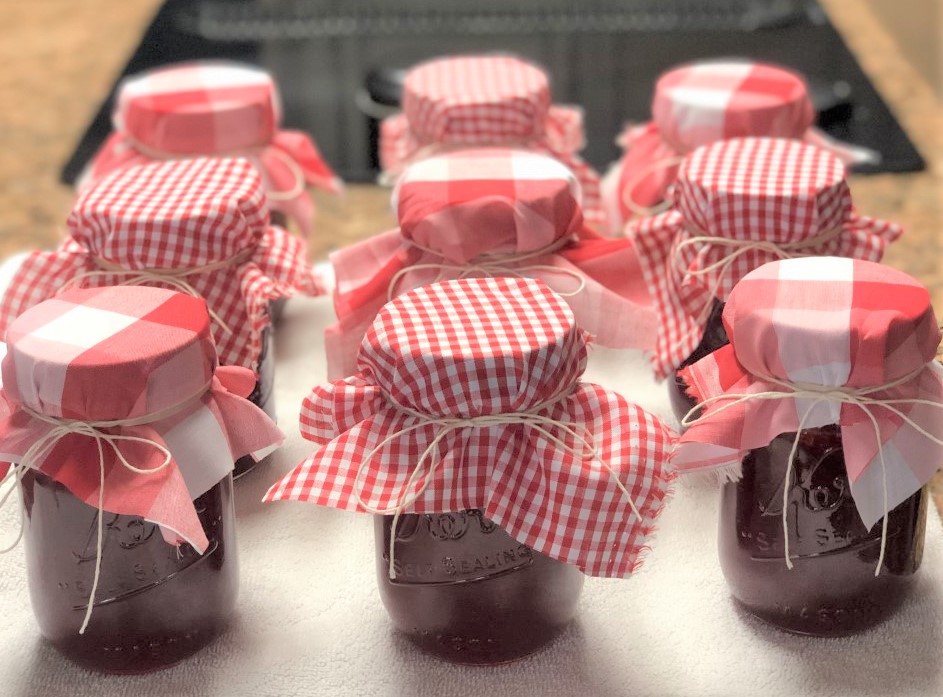
My finished product made for some thoughtful gifts I shared with friends and family, keeping of course 6 feet of space as I placed the gifts on their porch. I encourage each of you to try a new project during this time and find a way to share your newly discovered talent with others!
Cheers!
Cooked Jam Directions: https://www.myfoodandfamily.com/recipe/051957/surejell-strawberry-jam